Fancy Fold Card Class
I am so excited! This Saturday, May 8th, 2021, is a Motherś Day Event at Brown Street Emporium in Oconomowoc, WI. I will be hostessing, two separate card classes, making the following two Fancy Fold Cards!
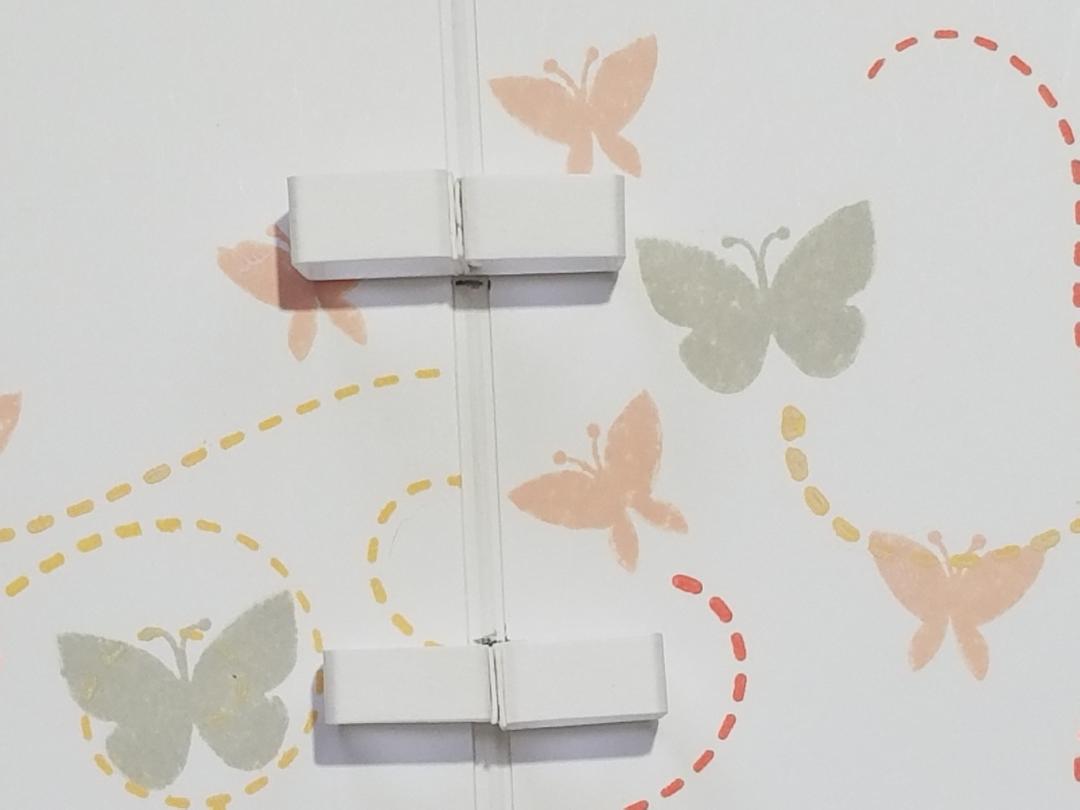
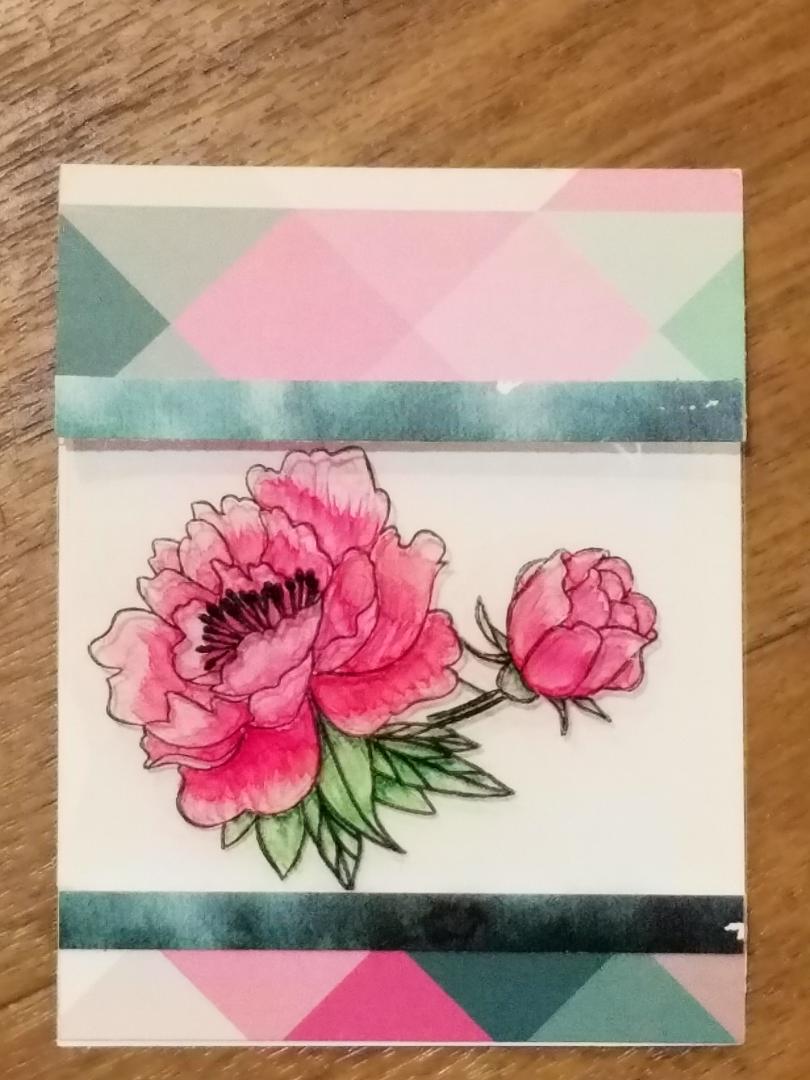
 |
| Stand Up Fold Card and Bi-fold Card |
 |
| Inside sentiments of cards |
The first class will start at 10 am and go on until 11 am. The second class is from 2 pm to 3 pm. Both classes will be identical so don´t feel like you are missing out on the fun if you are not able to make both!
The cost for attending this class is $10 which covers all materials you will need to make these two Fancy Fold cards. Plus...you get extras to use to make more cards or for scrapbooking!
Geekly Yours Design has provided ephemera cards, journaling cards, 4¨x 6¨ papers, and die-cut words. Deni Johnson also has many other kits for you to choose from like Star Wars, Harry Potter, Super Heros, Disney, Trucks, Princess, and many, many more! I bought two kits of Green Bay Packers and made some awesome Father´s Day Cards!
 |
| Hogwarts Kit |
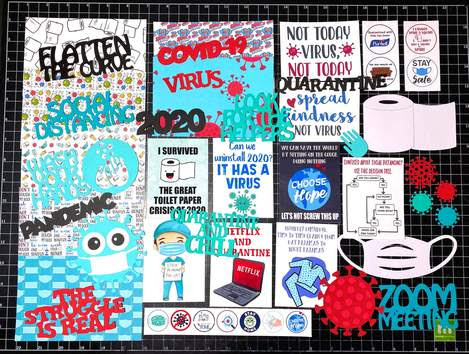 |
| Quarantine Kit |
You can also find many more of Deni´s kits in the Private Facebook Group, The Paper Posey Craft Supply Resale. It´s easy to join. There are a couple questions and POP, you´re in! There are a lot of vendors in this group and many, many bargains!
I hope you were able to craft on National Scrapbook Day this past Sunday. And I hope all of the Mothers out there have an awesome Mother´s Day! Personally, I am looking forward to flower shopping and brunch!